


The "Blog Planner" module allows you to write, plan, organize, and even live edit your blog posts in one place so that you and your team can collaborate over them as well as create links for the "Analytics" and "Split Testing" tools.
To begin, title your Blog Planner at the top left so you can reference it from the main canvas.

Enter your Blog's Tagline at the top right, so that you can provide context for you and your team.
Click "New Post" at the top to add a new blog post and title it.
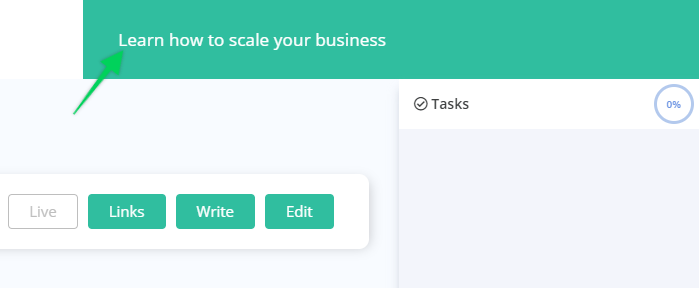
You can toggle the "Live" button to differentiate between which blog posts are public on your site.
The "Links" button holds all the links you create for this particular blog post. These links are used in the "Analytics" and "Split Testing" tools.
To create a link, click "New Link" at the top. Name your link and fill in the URL that the link in the post points to and include any applicable UTM parameters if needed. Click "create" to save. Use the "Copy Link" button to copy the MarketPlan.io generated link and place it in your blog for tracking and Split Testing.
Click "Done" to go back to the Blog Planner Canvas.
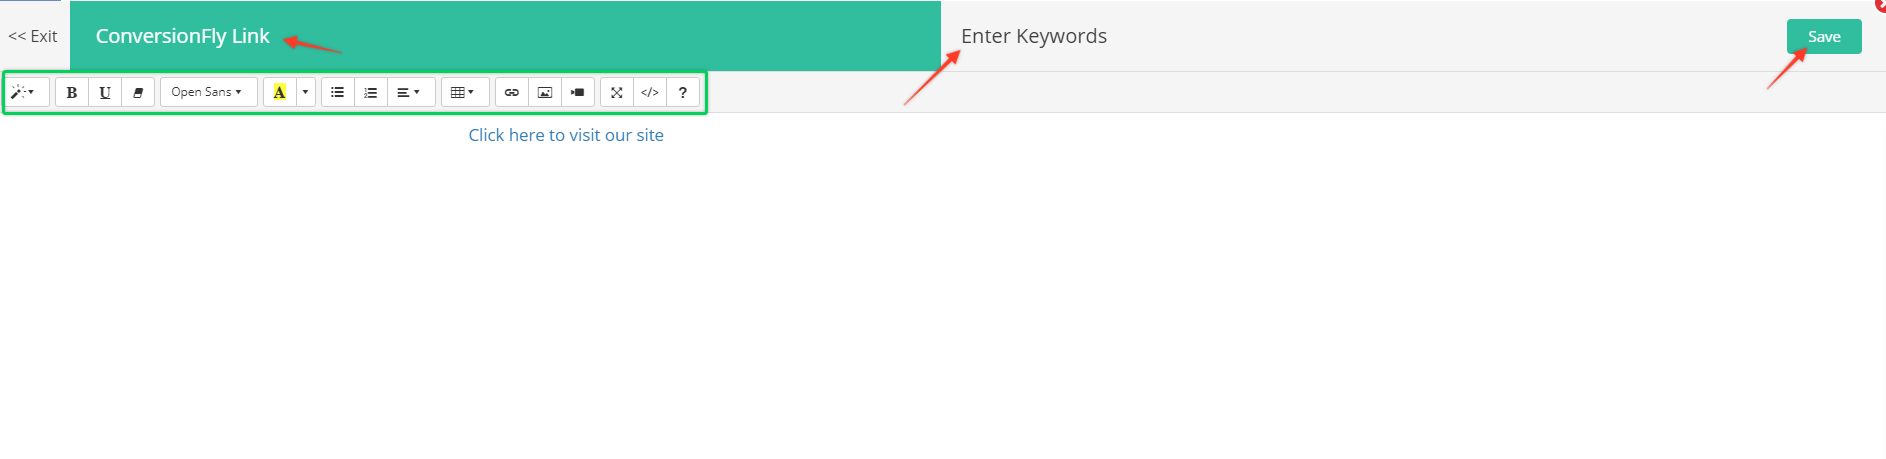
The "Write" button opens you up to a blank, distraction free, text editor ready for you to write the greatest blog you have ever written.
At the top, you can edit your post title, and enter your focus keywords for the blog as a reminder as you are writing.
The editor is capable of holding images and other rich HTML content to get your blog post as ready as possible for you to bring over.
Click "Save" to save your blog copy.
Click the "Edit" button so you can view and edit your blog posts (if you are using a front end blog editor) all within this element. This works just like a "Page" element.
Simply include your live page's URL and your post editor's URL in the two fields at the bottom. If you are using a blog manager that periodically needs authentication, you can provide your login URL for your post editor as a quick reference on the bottom right.

In addition, you can view your "Write" section by clicking "Notes" for quick copy and paste reference and (if you have Analytics feature) create links to measure traffic on this post.
Then, tie it all in by assigning checklist items and creating comments for yourself or your team mates to collaborate together and get your blog posts ready to launch.
Click the red X at the top right to get back to the Main Canvas and continue planning.